")
")
Creating a text template
Text templates are used for prints such as mail, bulk mail, quotes, data sheets, work instructions or menu cards. They contain references to lists and database fields. Deleting or changing the linked lists or references can have major consequences. Create or change templates carefully. If you have any questions, please contact the Bp Event Hotline or your Bp Event Account manager.
Text templates can be of three different types: ![]() Data sheet,
Data sheet, ![]() Word processing or
Word processing or ![]() Other. Each text template refers to exactly one table (accounts, events, etc.), can access corresponding database references and lists and is offered for selection in this context.
Other. Each text template refers to exactly one table (accounts, events, etc.), can access corresponding database references and lists and is offered for selection in this context.
Depending on the type and linked table, additional information may be possible and/or required. Due to the large number of different options, only the most important ones are explained here; other details are largely self-explanatory or explained in the help text for the input fields.
- Open a new text template
Text templates can be created from scratch, but in many cases it is advisable to copy and adapt an existing text template with all references and lists (Copy an existing text template).
- Go to the
 Templates tab and select
 Text templates >
  New, then select the CompanyM if necessary.. The input window for the new text template will open.
 - To assign the new text template to several CompaniesM, go to
 in the toolbar of the template and tick the companies you want.
 - Enter a self-explanatory Name and a unique Code for the template. The code can be used to quickly assign a template when creating a new mail. The name and code must be unique and cannot be used more than once. To enter more details on a template, use the Description field.
- Select the Group/Type of template from the expandable picklist. Searches and filters are optimised through this template type.
- Select the user groups for which the template should be Visible .
- Select
 Show only for configuration to mark templates that are only used in the context of lists or other templates and should not be shown to users in an operational context.
 - Select a Template type:
 Datasheet template, Text template or
 Other. Select Other only for text breaks or text blocks that are only used as a part of other templates.
  Save your input by clicking on the icon in the top left-hand corner of the input window.
- Go to the
- Define data sheet templates
Select a
Data sheet template to summarise data in a specific context. Data sheets are only available for a limited number of tables.- Enter a filing location for data sheets related to Accounts, Items and Events, which can be edited and saved in the record, and separate subfolders with "/".
- The folder or subfolder will appear in the record as soon as a data sheet based on this template is drawn and opened for editing and saving in the directory.
Example: Data sheets/AV or Data sheets/Kitchen - All data sheets for other tables can be edited and exported, but not saved internally.
- Create word processing templates
Select a
 Text template for all other templates that should either be directly available to users or used indirectly in other templates.
- Select Word processing >
 Mail or Bulk mail for real correspondence. Other text templates can also be used as letter or email templates, but are only offered in a special context.
Example: a Shift offer template is only offered in the context of Shifts and Staff >
  Shift offers , a Mail template is offered in the context of Communications > Mail/Email
 - If necessary, enter a formula in the field Usage rule to set additional conditions for using the template.
Example: Quote templates only up to a maximum amount - The Subject can be preset or determined by a
 Formula. When assigning a cover letter based on a different Text template, the original subject is retained.
 - If a template is marked as an
 Email template, further input fields will appear for
  Priority,
  Read confirmation and a
  Cover letter.
 - The Cover letter for the email can also be preset:
- Activate a Cover letter in the top toolbar. A new tab Cover letter will appear, and the text of the email will be moved to the
 Attachments.
 - Click on Copy to copy the text of the email into the cover letter. Alternatively, select a different Text template.
- Activate a
- Both
 Attachments and
  Recipients can be preset.
- Attach
 Own business cards or Calendar entries by clicking the buttons above the attachment list.
 - Add external
 Files,
  Documents from packagesM, Templates or other Business cards as attachments.
  Event sheets are available for event templates only.
 - Automatically attach the attachments to emails each time without prompt by selecting Accept all files without prompting above the list.
- Attach
- Select
- Compose the template text
Enter the main text of the template on the front tab.
- Write or paste a text from the clipboard by clicking
 (Ctrl+V).
Note: The icon becomes active as soon as the cursor flashes in the text field and there is text in the clipboard. - Click on to insert text blocks or other ready-made templates.
- Format the text using the tools in the toolbar.
- Write or paste a text from the clipboard by clicking
- Insert references
References are references to other fields in the database. The type of template determines which tables in the database the template can access and which database references can be inserted.
- In the lower toolbar of the text tab, activate
 References to see all database references.
 - Click on
 Insert database references in the toolbar to select the higher-level category of the reference.
Example: User > User name and signature; Extras > Current date etc.
 - Number fields, truth values, date or time fields may need to be formatted/determined. Enter the format in the input window and confirm by clicking OK.
- Create recurring texts once and refer to them in text templates.
Example: Create a standard text under Administration > Settings > 
 Events >
  Texts > Quote text 1 and click Insert database references > Administration > Quote text 1 [text] .
Note: only the name of the reference will appear in the text template, the real text only shows in the document itself. Unhide database reference by clicking.
- In the lower toolbar of the text tab, activate
- Insert images
Images from various sources can be inserted into the mail.
 Insert image in text or
  Insert image on page by clicking on the expand triangle next to
  Image in the toolbar.
- Select Insert image in text if you want to link the image to a specific text passage.
- Select Insert image on page if you want to place the image in a specific position on the page.
- Select
- Search for the image you want.
- Select Load from hard drive if the image is stored externally. The Explorer window will open, double-click the image you want.
- Select
 Load from clipboard if you have previously copied an image. Alternatively, use the Ctrl+V hotkey.
 - Select Insert image and the filing location of the image for any images filed under other database records.
- For images from an integrated camera, select Insert Image >
 Integrated Camera.
- Select
 Optimise images for printing or filing if needed. Find further formatting options in the context menu of the image (right-click on the image).
- Save your changes.
- Swap images
Images saved under
Templates >  Gallery can be replaced in the text document. Whether the image was inserted on the page or in the text flow makes no difference at this point.
- Select the image in the mail and right-click.
- Select Gallery >
 Replace. A list of all other images from the Gallery that have either the same category 1 or 2 will open.
 - Left-click the new image. The format of the new image will automatically be adjusted.
- Save your changes.
- Optimise the size and resolution of the image
The size of the image in relation to the resolution is decisive for the image quality and the required storage capacity. The higher the resolution (e.g. 300 dpi) the better the image quality and the higher the required storage capacity. The Info field shows you the current size of the image in points and the size of the file in kB.
- Right-click on the image and select Optimise, then enter the resolution. The default values for photo print (300dpi), standard print (150dpi) and screen (96dpi) can be overwritten.
 Crop the image to fit,
  Rotate or
  Mirror as needed.
- Select
 Retain resolution to keep the original resolution when resizing. Reducing the size improves the image quality.
 - The option
 Retain proportions is enabled by default. Disable it to change the length and width ratio of the original.
 - Adjust Width and Height of the image in cm.
- Reverse changes step by step by clicking
 Undo.
Undo.  Confirm the changes.
- Right-click on the image and select
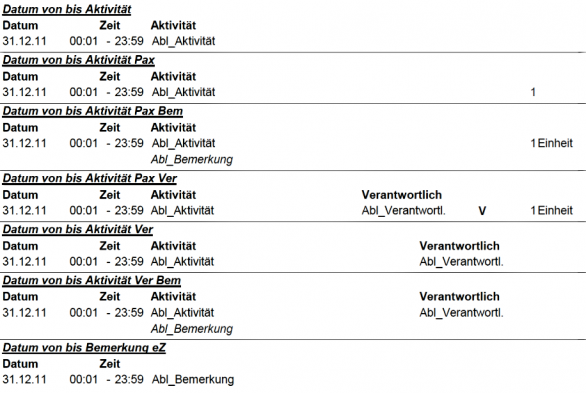
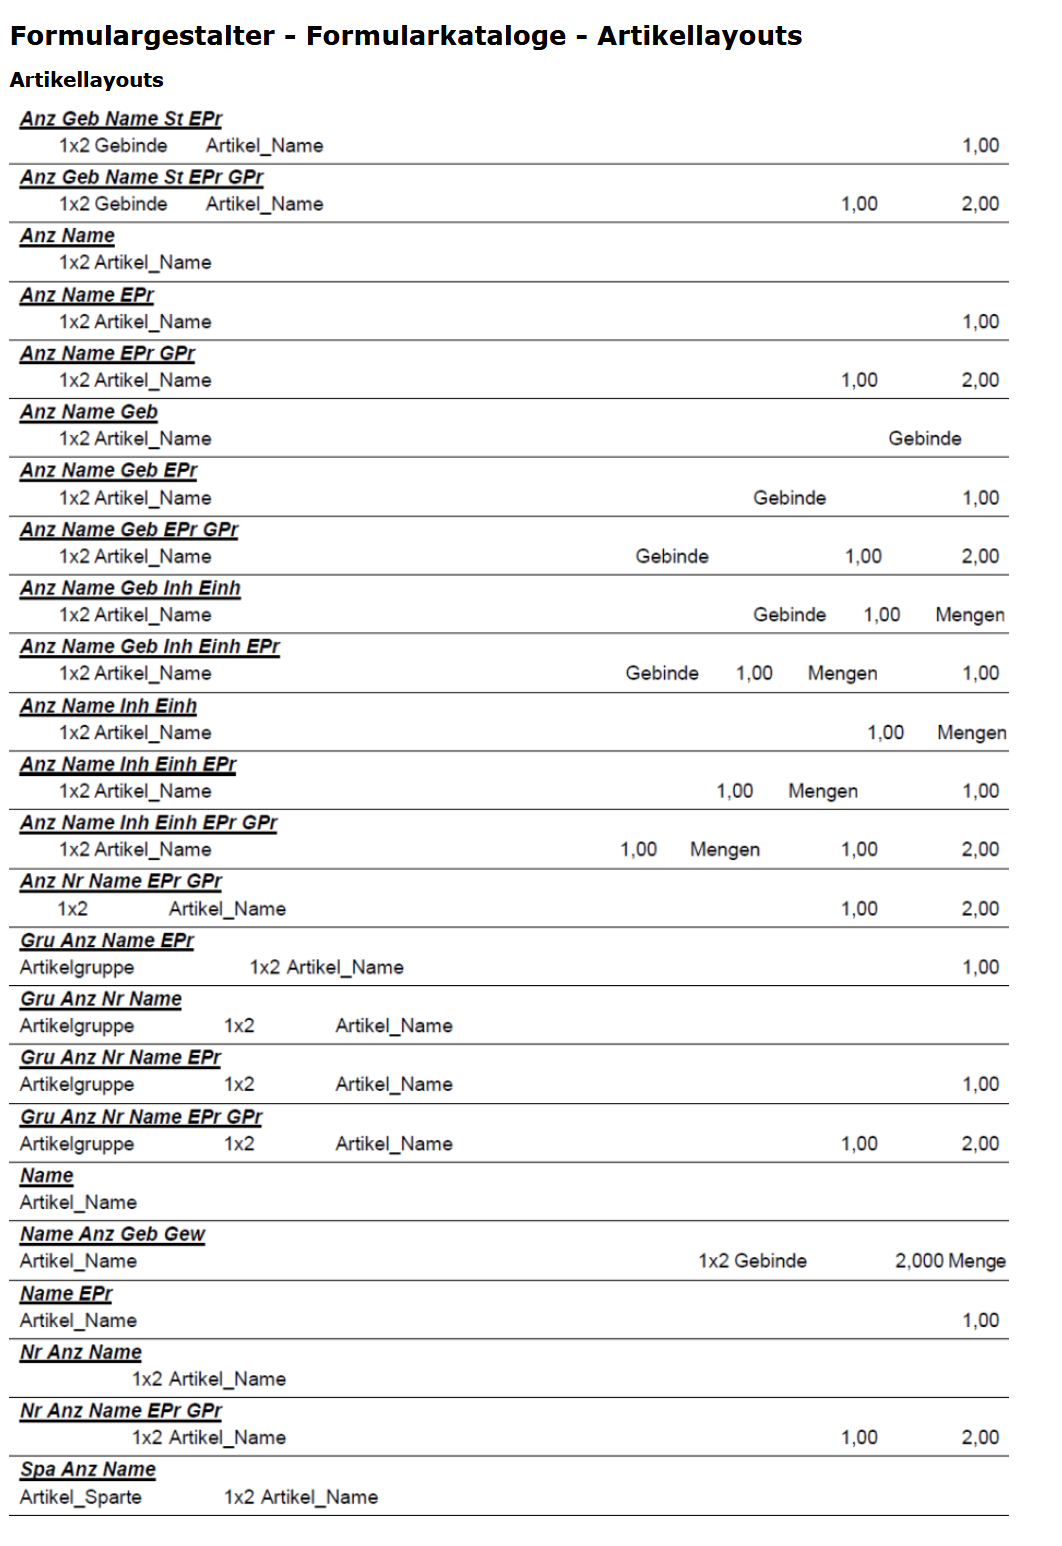
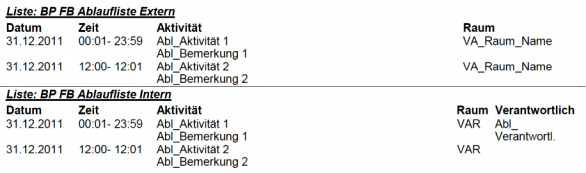
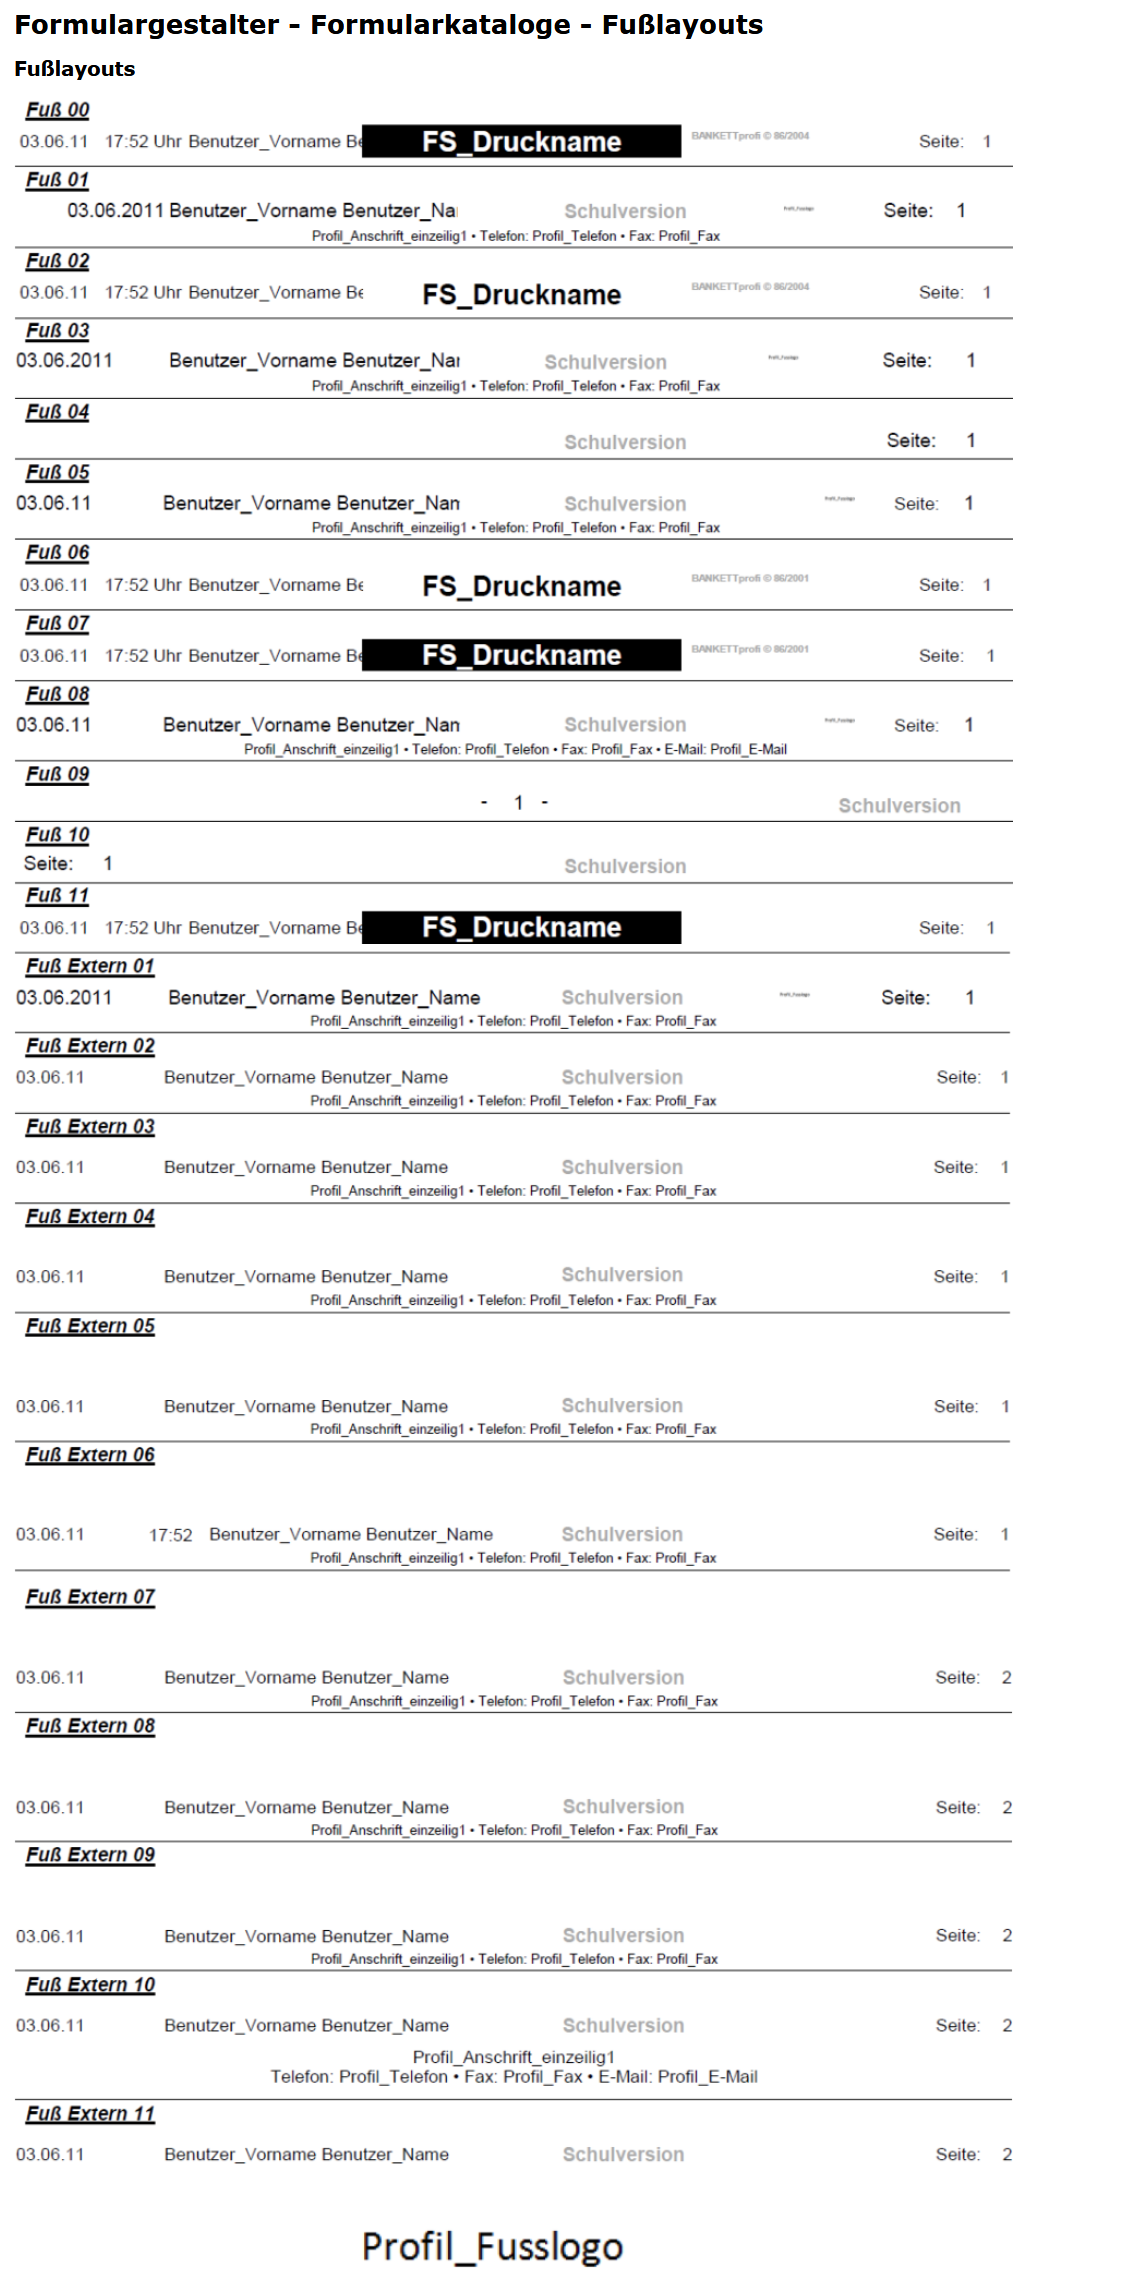
- Insert lists
Depending on the type of text template, certain lists can be integrated into the word processing document and edited.
- Click on
 Insert lists in the toolbar to select the parent category and an existing list.
 - Change an inserted list by right-clicking on the list name and selecting
 Open list.
Note: Changes to the lists can have an impact on many text templates. Make changes carefully (Changing an existing list). - Save your input by clicking on the icon in the top left-hand corner of the input window.
- Click on
- Copy and change a text template
If you want to apply the references of an existing text template but change the text yourself, copy the template and customise it.
- Go to the Templates tab and select Text templates, then
 Search for suitable templates.
 - Select the template in the list by left-click.
- Click on
 Copyin the horizontal toolbar.
 - The copy of the text template will open.
- If necessary, change the name, attachments, type or other settings of the text template (Open a new text template, Assign a template type).
- Go to the
- Change the text of the template
Show the database references to avoid deleting or changing them unintentionally if you only want to customise the text itself.
- Activate Show 4D expressions in the toolbar to see all database references. All lists and database references are highlighted in grey and must not be changed.
- Only change the texts that are not highlighted in grey.
- Save your input by clicking on the icon in the top left-hand corner of the input window.
- Activate
- Highlight text graphically
There are several options in the toolbar to visually highlight text that is not already specially formatted in the template.
- Select the text by left-clicking and holding down the mouse button, then select in the toolbar:
 Background colour: highlights the text with a yellow, green, red or blue background, custom colours are available.
 Font colour, background colour and text effects: offers further options for text formatting such as font colour and font style
- Copy an existing style from one word or paragraph to another:
- Select a word or paragraph that is already formatted.
- Click on the dropdown triangle next to
 Styles and select Copy styles.
 - Then select the text to which the format is to be transferred and click on > Apply styles (text or paragraph styles as well as tab settings).
- Save your changes.
- Select the text by left-clicking and holding down the mouse button, then select in the toolbar:
- Insert breaks
- To insert a line break, select a position in the text.
- Click on the expand triangle next to
 Insert break in the toolbar.
- Page break
 Column break (table) or
 Line break.
- For page breaks with totals and carry-over in invoice templates, please contact your Bp Event Account manager.
- Insert tables
- Open a text template or create a new template. (Creating a text template)
- Place the cursor in the text field at the point where you want to insert the table.
- Click on the expand triangle next to
 Table in the toolbar and specify how many rows and columns are to be inserted.
 - Specify Cell colour, Frame andColumn width and confirm your entry by clicking OK.
Alternatively, right-click on the table to open the context menu and make changes to the table (frame, background, spacing, add, delete, etc.) there.
 - Label the individual rows/columns or insert database references.
- Insert a table of contents
Insert a table of contents into long text documents such as quotes by first selecting all the headers and then creating an index with page numbers.
- Select the headers in the document and right-click (context menu), then
 Add to table of contents and assign one of five Levels. Alternatively, assign the level by clicking on Table of contents in the toolbar and selecting ToC entry > Level.
Example: Tuesday, 1 March, Wednesday, 2 March, Thursday, 3 March -> Level 1; Schedule, Rooms, Cost estimate -> Level 2 - All
 ToC entries are listed under Table of contents and can be edited there:
- Shown in the document: The cursor jumps to the ToC entry that is highlighted in blue.
 Change text: The text is changed both in the document and in the table of contents.
 Change level: The entry is assigned a different level in the ToC, visible after refreshing.
 Remove: The entry is removed from the table of contents.
- When all texts have been selected, place the cursor at the point in the document where you want to insert the table of contents and click on Table of Contents > Insert Table of Contents.
- Refresh the table of contents after making changes to the document by clicking on Table of contents > Refresh table of contents or
 Refresh page numbers.
 - The formatting of the table of contents are defined in the template. Options for individual settings can be found under Table of contents >
 Settings.
 - Save your changes.
- Select the headers in the document and right-click (context menu), then
- Lock the document for changes
Use document protection to block entire documents or parts of documents from being changed. Document protection can be used in text templates (e.g. invoices), lists or mail/email.
- Click on the expand triangle next to
 Lock in the toolbar and select Document to lock the complete document and forbid editing.
 - The icon changes to and the document is now locked for changes.
- To release partial areas for changes, select the area and click on > Unlock document.
Note: Use Unlock document only by users from group to authorise one specific user group to edit the document.
- Click on the expand triangle next to
- Insert sections for formatting
Sections separate a template into different areas with different formatting.
Example: Page 1 to 3 portrait format, page 4 landscape format, from page 5 portrait format with narrow margins etc.- Select the position in the text where you want to insert a new section.
- Click on the expand triangle next to Section in the toolbar and select New section.
- The text is moved to a new page from the marked position and a new section break is inserted at
Note: You can Rename the individual sections for better readability.
 - Keep the cursor in the text field of the section and click on to edit the settings further.
- Select a different format (e.g. landscape format), enter settings for margins, spacing, columns etc. for this section.
Note: The height and width of the header, footer and text can also be changed per section using the ruler at the top and left of the text. - Then insert another section at a suitable point if only one specific area is to be displayed in the different format.
- Create a new style sheet
If you create style templates in the administration and transfer them to your templates and lists, changes (corporate identity) will only need to be applied in one place in future.
- Go to the Administration tab in the function bar and select Settings >
 Text template.
 - Enter a text in the text field.
Note: this is about creating font styles, the text entered here is irrelevant, just a few letters are sufficient. - Format the text using the tools in the horizontal bar. (colour, font, font size, underline, etc.)
- Select the text and click on the expand triangle next to
 Style sheet > New text style sheet.
 - Enter a unique name for the style sheet and confirm the entry by clicking on OK.
- Save your input by clicking on the icon in the top left-hand corner of the input window.
- Go to the
- Edit style sheets
Standard style templates are edited in the administration and can be transferred to all templates in which the text styles are used.
- Go to the Administration tab in the function bar and select Settings > Text template.
- Enter a text in the text field.
Note: this is about creating font styles, the text entered here is irrelevant, just a few letters are sufficient. - Format the text using the tools in the horizontal bar. (colour, font, font size, underline, etc.)
- Click on the expand triangle next to Style sheet and select Copy current settings to template, then select the style template.
- Confirm the message by clicking Overwrite settings.
- Go to the
- Insert style sheets into text templates
Font styles that are defined as style templates under
Administration > Settings > Text template can be used in text templates. If the style changes, it is edited in the administration and only needs to be updated in the individual templates.- Open an existing text template or create a new template.
- To apply a style sheet, select the text, click on the expand triangle next to Style sheet and select a suitable style sheet.
Note: If no current style templates are available or they have been changed in the administration in the meantime, first click on Style sheet >  Update standard style templates.
 - The text is formatted according to the style sheet specifications.
- Repeat the process for all texts as needed.
- Save your input by clicking on the icon in the top left-hand corner of the input window.
- Insert style sheets into lists
While font styles for references (4D expressions) are adopted directly in the text template, all lists used in text templates must be formatted separately.
- Open the list in a text template by right-clicking on the list name and selecting
 Open list.
 - Go to the Word processing tab in the list
- Select the text, click on the expand triangle next to Style sheet and select a suitable style.
Note: If no current style templates are available or they have been changed in the administration in the meantime, first click on Style sheet > Update standard style templates. - The text is formatted according to the style sheet specifications.
Repeat the process for all the texts in this list. - Save your input by clicking on the icon in the top left-hand corner of the input window.
- Open the list in a text template by right-clicking on the list name and selecting
- Edit style sheets for one document
If text styles are used in a template, changes can be made to these styles in the document without changing the template.
- Create a new letter, a new e-mail with a template in which different font styles are used. (Writing a mail or Writing an email)
- Select the text that was formatted using a font style.
- Format the text using the tools in the horizontal bar. (colour, font, font size, underline, etc.)
- Click on the expand triangle next to Style sheet and select Copy current settings to template, then select the style template.
- Confirm the message with Overwrite settings.
- Hits: 247